Smart Triggers allow you to instruct the chatbot to perform specific actions automatically when predefined conditions are met. By setting up rules, you can ensure the chatbot responds intelligently to different visitor scenarios without manual intervention.
For example, you can configure the chatbot to automatically forward a chat to a live agent when:
- A visitor’s message contains keywords such as “live agent” or “human”.
- The visitor belongs to a VIP segment or comes from a specific region.
- The visitor is returning to the website for the second time.
When multiple conditions are defined, you can control how they are evaluated using the following trigger rules:
- Meet any: The trigger is activated when any one of the conditions is met.
- Meet all:The trigger is activated only when all conditions are met.
- Use logic expression: Conditions are combined using AND and OR operators to form a custom logical expression.
Based on the conditions you define, Smart Triggers can perform the following actions automatically:
- Send notifications: Automatically notify selected agent or departments.
- Monitor or transfer chat: Allow selected agent or department to monitor ongoing chats and intervene if needed, or automatically transfer the chat to them.
- Change ticket assignee: Update the ticket assignee to a selected agent or department.
- Add to visitor segment: Add the visitor to an existing segment (such as VIP or frequent visitor). A drop-down list of existing segments is available for selection.Note: This action is available only when the Segmentation feature is enabled. To enable Segmentation, navigate to Live Chat > Settings > Segmentation. To learn more about setting up visitor segmentation, see this article.

Configuring Smart Triggers
To configure Smart Triggers, follow these steps:
- Log in to your Comm100 Control Panel.
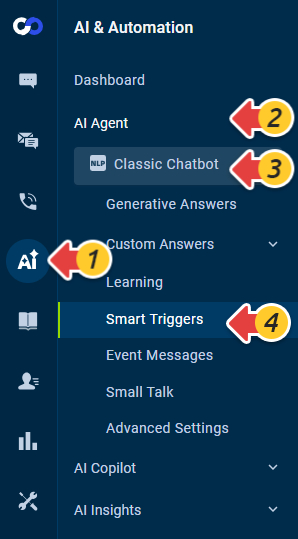
- From the left navigation menu, go to AI & Automation > AI Agent > Smart Triggers. If you have multiple AI Agents, make sure to select the correct one from the drop-down list.
- On the Smart Triggers page, click New Smart Trigger.
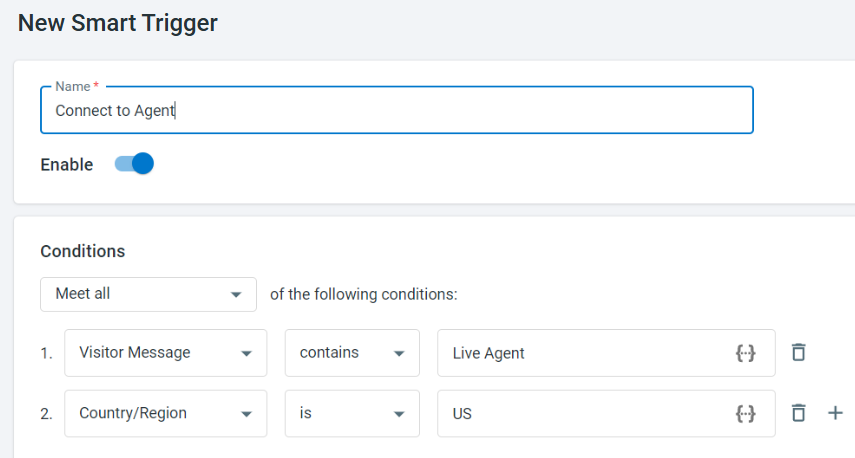
- On the New Smart Triggerpage:
- Enter a name for the smart trigger.
- Turn on the Enable toggle.
- In the Conditions section:
- Select Meet all, Meet any, or Use logic expression from the drop-down list to define how conditions are evaluated. To learn more about Logical Expression, see this article.
- Click Add a condition to define each condition. Each condition has is assigned an identifier.Note:
- You can add multiple conditions by clicking the plus icon available with each condition.
- The parentheses must come in pairs and should be written as half-width.
- Space should be added before and after OR and AND expressions. They are not case-sensitive.
- The precedence of logical operators from highest to lowest is: (), AND, OR.
- The number used in the expression must exist in the identifier list.
- In the Actions section:
- Select the checkbox for each action you want to trigger. The selected action expands with additional options.
- Choose whether the action applies to Department or Agent.
- In case you select Department:
- Select the department(s) from the department list.
- In case you select Agent:
- Select an agent from the agent list.
- In case you select Department:
- Click Save.
The new Smart Trigger appears in the Smart Triggers list. - (Optional) From the Smart Triggers list, you can:
- Disable or enable triggers
- Edit triggers
- Copy triggers
- Delete triggers