Comm100 Live Chat allows you to create multiple campaigns, each with its own chat style and settings. For each campaign, you can customize elements such as chat buttons, pre-chat surveys, chat windows, routing rules, and more. To use a campaign, simply copy its live chat code and install it on your website or web pages.
Dynamic Campaign is an advanced feature of Multiple Campaigns. It allows you to run different campaigns on the same web page based on defined rules. Each campaign can be associated with specific conditions, and it will take effect only when its rule criteria are met.
- Based on your business needs, you can create additional campaigns before configuring Dynamic Campaign.
- The Dynamic Campaign feature is available only in the Live Chat Ultra edition.
Step-by-Step Instructions
- Log in to your Comm100 account.
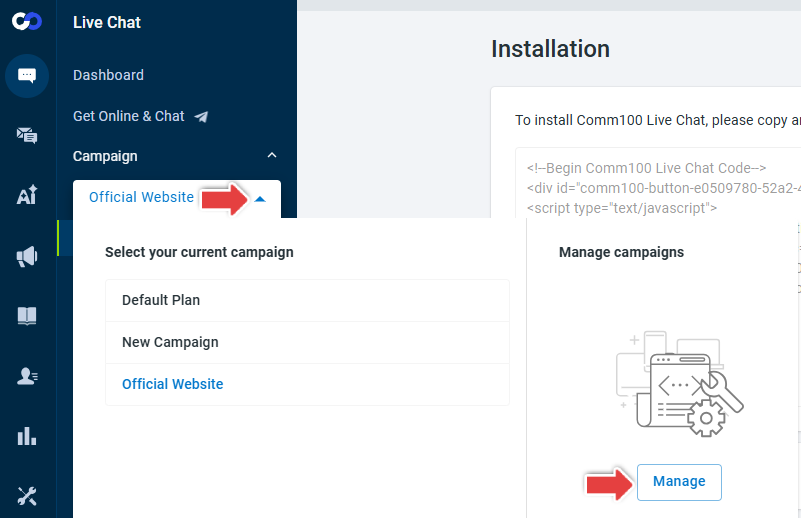
- From the left navigation menu, go to Live Chat > Campaign.
- Click the campaign drop-down list and click Manage.
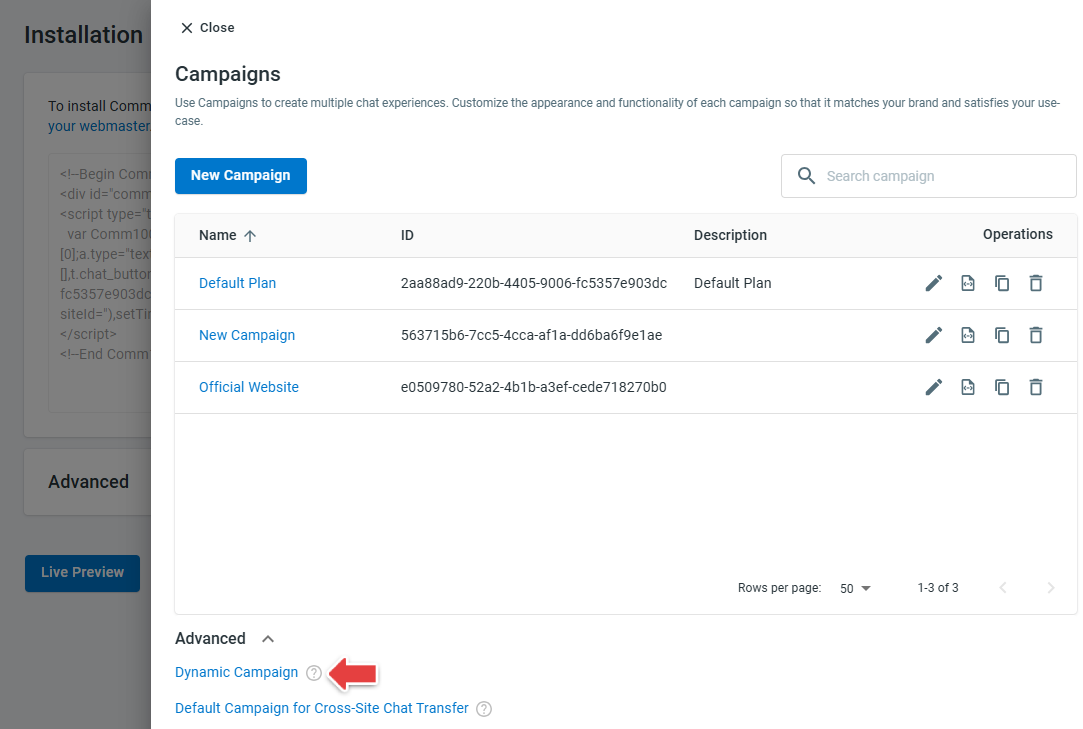
The Campaigns drawer appears. - Scroll down and click Advanced > Dynamic Campaign.
The Dynamic Campaign drawer appears. - In the Rules of Dynamic Campaign section, click New Rule.
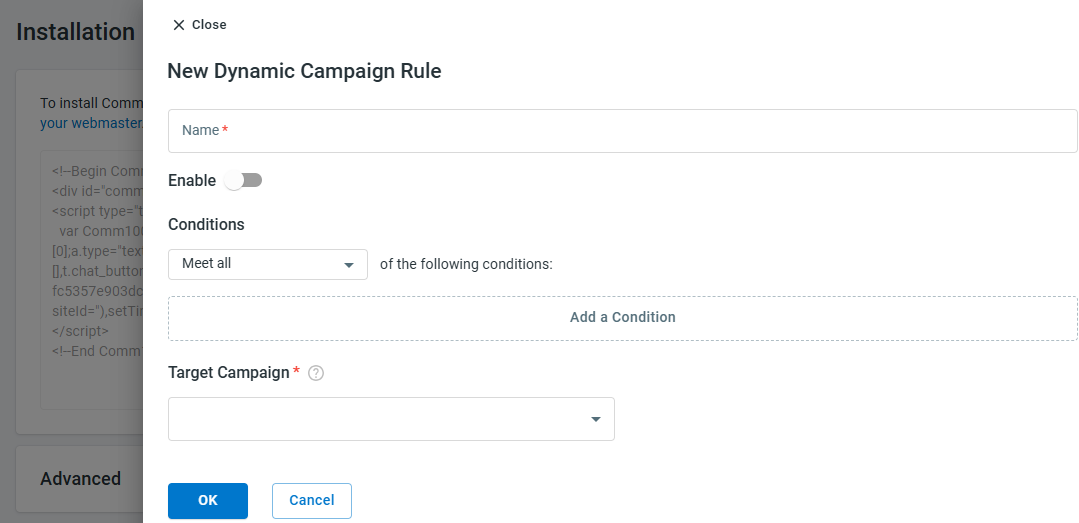
The New Dynamic Campaign Rule drawer appears. - In the drawer, enter a rule name, toggle on Enable, configure the conditions that will trigger the rule, select the Target Campaign that should be applied when the conditions
are met and click OK.
- Repeat the steps above to create additional Dynamic Campaign rules if needed.
Note: Each rule must be associated with a target campaign. The target campaign determines how the chat button, invitations, and visitor-side chat window will behave when the rule is triggered. Do not delete any campaign that is currently used as a target campaign, or the chat button will not appear when that rule is activated. - In the Dynamic Campaign drawer, choose a Default Target Campaign when none of the defined rules are triggered.
- Copy the Live Chat Code of Dynamic Campaign and paste it onto your website.
Note: If you have already installed a standard Comm100 Live Chat code on the web pages, remove it before pasting the Dynamic Campaign code. You don’t need to re-paste the code when making changes to your Dynamic Campaign settings.


Once completed, your Dynamic Campaign is successfully configured. To learn more on how to make the most out of our Multiple Campaigns and Dynamic Campaigns, see here.