A Live Chat campaign is a set of configurations that define the appearance and behavior of your chat button and visitor-side windows. Each campaign comes with its own unique live chat code.
With Comm100 Live Chat, you can display the same chat button across multiple webpages by installing the same live chat code on all pages. However, if you want different chat button designs or layouts for different websites or webpages, you’ll need to create multiple campaigns and install each campaign’s unique code on the corresponding pages.
To achieve this, simply create additional campaigns, customize each one according to the style of its target website or webpage, then copy and paste the appropriate campaign code into the desired pages.
Step-by-Step Instructions
- Log in to your Comm100 control panel.
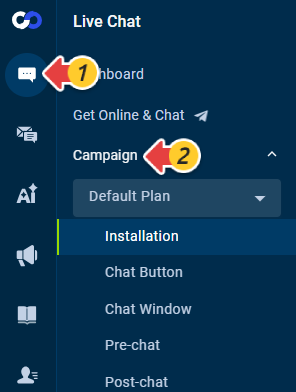
- Navigate to Live Chat > Campaign.
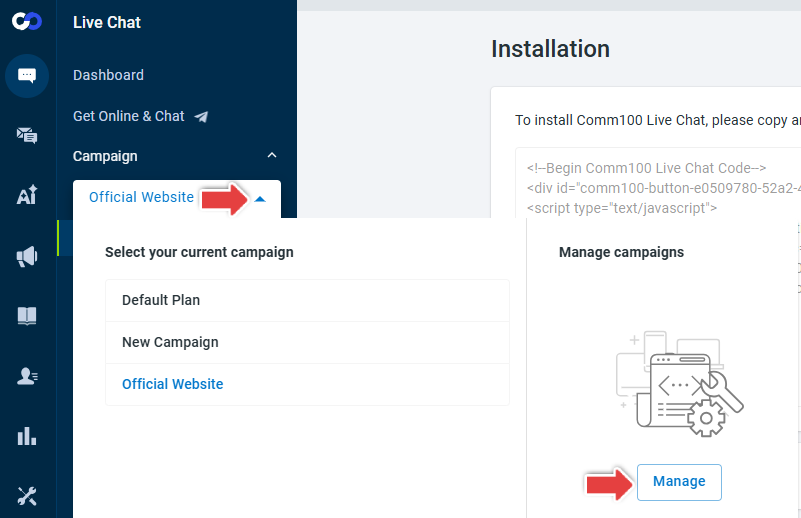
- Click the Campaign drop-down list. A list of your current campaigns appears, along with an option to manage them.
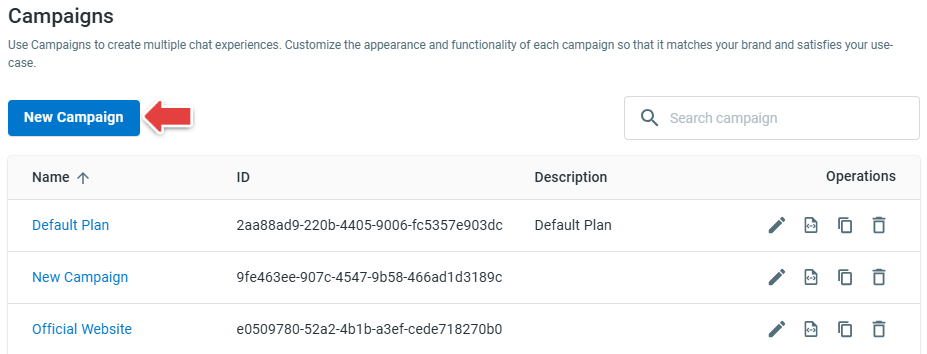
- Click Manage. A page with several campaign management options will appear.
- Click New Campaign to create new campaigns. Customize your chat button, pre-chat window, offline message window, and other visitor-side elements as needed.
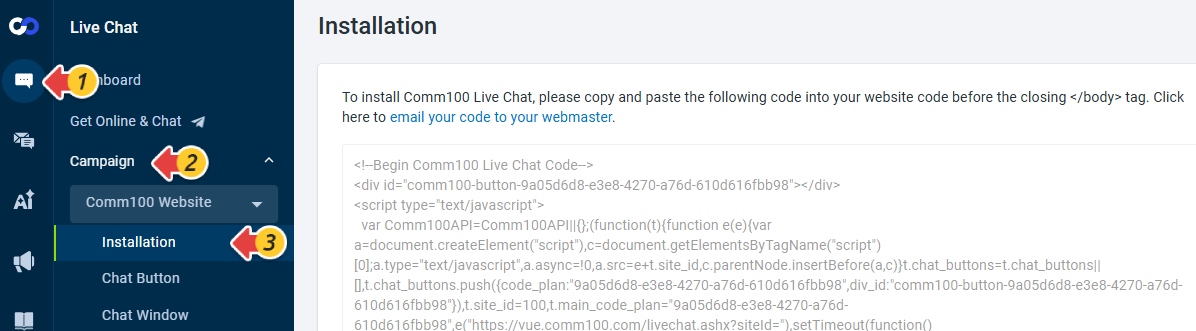
- After completing customization, return to the Campaign drop-down list and select the campaign you want. Then click to view and copy its unique installation code.
- Install the live chat code onto your website.
- Ensure you place the code before the closing </body> tag.
- If you manage multiple sites, verify that each page includes the correct campaign code.