The Super Agent feature in Comm100 enables agents who support multiple sites to work more efficiently across all of them from a single interface. With Super Agent operations, agents can answer chats and handle tickets from different sites using one Control Panel login and one Agent Console, saving time and reducing context-switching.
This article explains how Super Agents are managed within a site and how they operate on both the Control Panel and the Agent Console.
By default, super agents hold the Agent role across all assigned sites. Within a site, site admins can edit super agents’ basic profile, assign permissions, grant roles, allocate tasks, and so on. The site admin’s configuration takes effect in the current site only.
On Global Settings > People > Agents, super agents are listed together with regular agents.

- Site admins can edit super agent’s information such as name, title, and so on. However, super agents’ email and password cannot be changed within a site. Their login credentials can only be edited on the dedicated Portal.
- Site admins cannot add or delete super agents from within a site.
- Except for the mentioned restrictions, site admins can make configurations to super agents same as regular agents. Super agents can be assigned permissions, roles, departments, and get allocated in routing configuration or auto allocation just like regular agents.
- If Password Policy or IP Allowlist is enabled in a site, the configurations do not work for super agents.
Logging in to the Control Panel
When a super agent is created, the agent’s email address, password, and the sites that the agent works for are defined. The agent can then use the same login credentials to log in to all designated sites. The login procedure is same as that of regular agents.
Switching Site
After logging in to the Control Panel, super agents can switch between sites using the site dropdown under their avatar menu. The configurations available for the agent within a site depend on the permissions and roles assigned by the site admin.

Logging in to the Agent Console
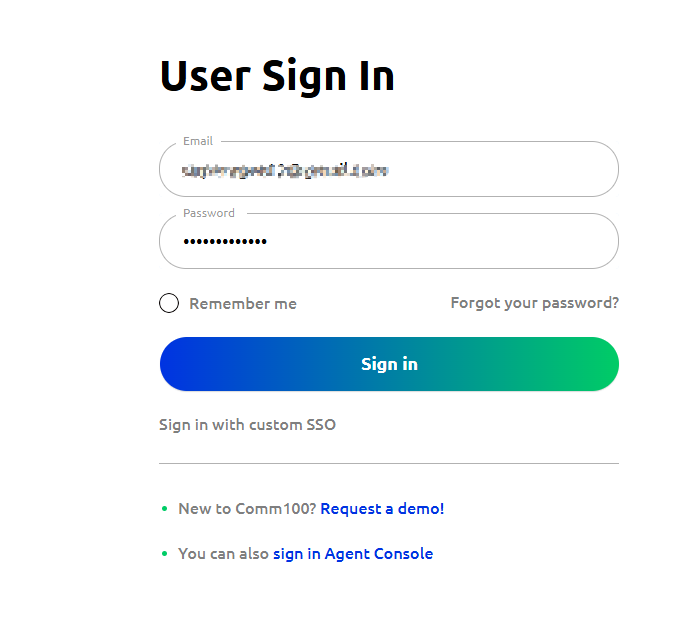
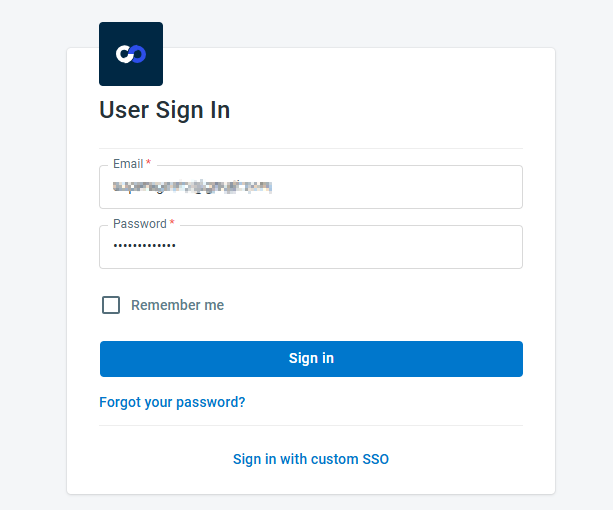
Log in to the Web or Desktop Agent Console to handle all the chats and tickets from all the sites that you work for. Use the login credentials defined on the dedicated Portal to sign in.
- Mobile app is not available for super agents. Please use the Web or Desktop Agent Console.
- Forgot Password functionality is not available for Super Agents; password resets must occur on the dedicated Portal.
- If Single Sign-On (SSO) is enabled for a site, Super Agents can choose to sign in with SSO or their email and password.
- The initial status selected at login applies to all sites, but after logging in, Super Agents can adjust their status on a per-site basis.
- If all the sites associated with the super agent are unavailable, for example, the sites are closed or trial has expired, the login fails. An error message indicating incorrect email or password appears in the login window.
Handling Chats and Tickets Across Sites
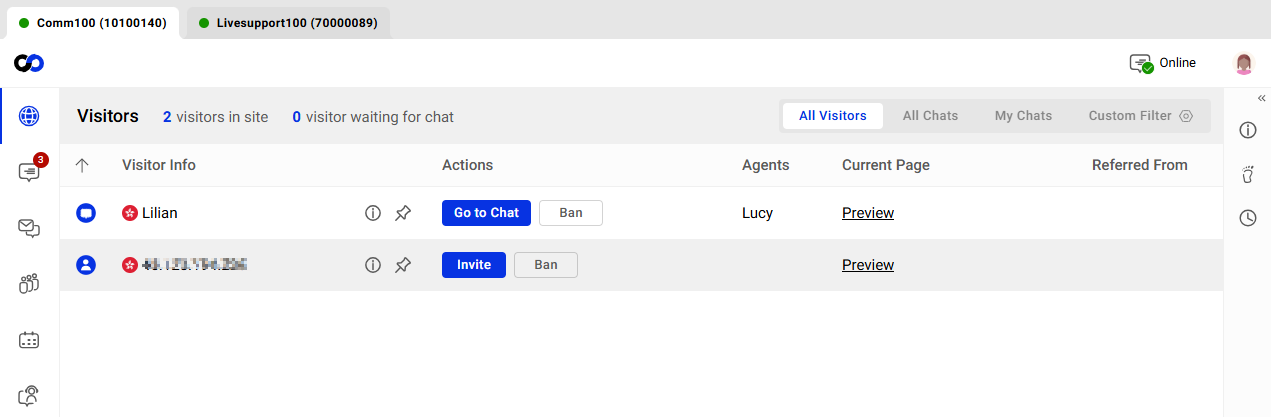
After login, the Agent Console shows the tabs of sites that the agent works for. Chats and tickets from each site are displayed under each site tab named by the organization name and the site ID. An orange dot on the top right of the tab indicates the number of unread messages from that site.
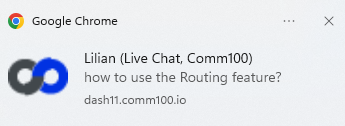
Popup notifications for chat events from all sites can be received on the Agent Console. Clicking the notification takes the agent to the site tab where the chat event happens.
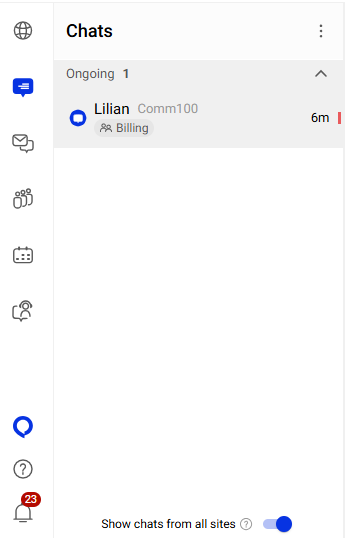
Handling All Chats Under One Tab
On the Agent Console, a super agent can turn on the Show chats from all sites toggle to avoid switching between tabs. When enabled, chats from all sites appear under the tab that the agent is on. Agents can identify the visitor’s site by the organization name and the site ID. The new message count of on each site tab disappears with this option enabled.
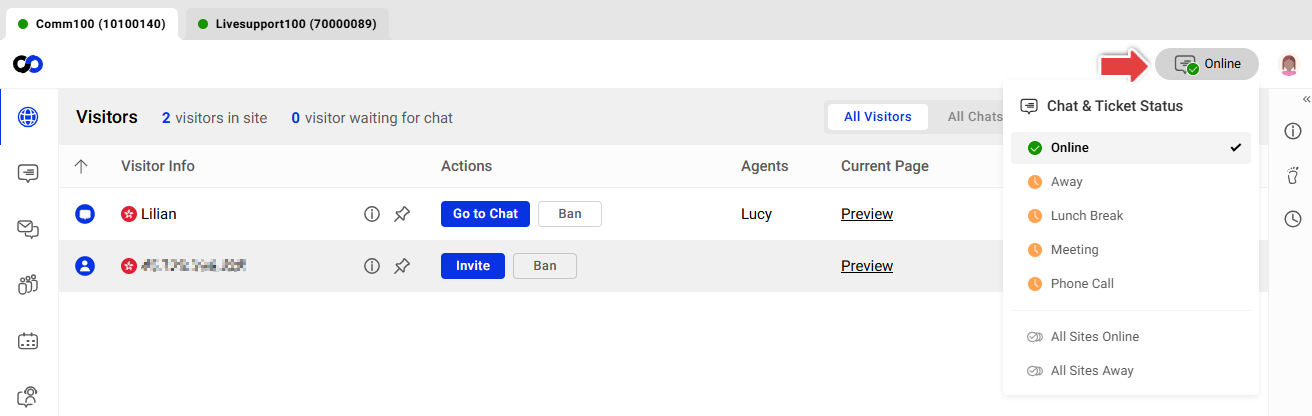
Changing Agent Status
After login, the super agent’s statuses for all sites are the same. However, the agent can change the status for each site under the site tab, or change to another status for all sites. The Logout status is for all sites only. Agents cannot choose Logout status for an individual site.