The Manual Invitation feature allows you to proactively invite visitors on your website to start a chat. You can customize the invitation by defining a personalized message and selecting how the invitation is displayed, helping you engage visitors more effectively.
Step-by-Step Instructions
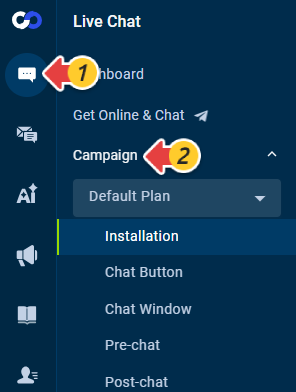
- Log in to your Comm100 Control Panel.
- From the left navigation menu, go to Live Chat > Campaign.
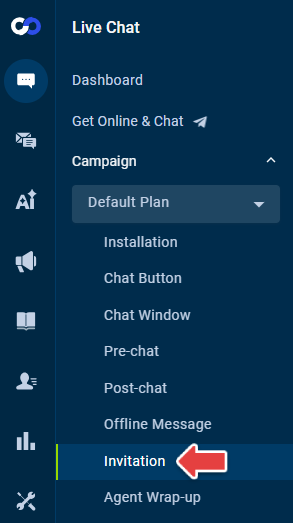
- Select a campaign from the drop-down list and go to Invitation.
- Select the Manual Invitation tab and configure the following options:
- Invitation Style
Bubble - For the Adaptive chat button type, the bubble invitation appears above the chat button. For Image or Text Link button types, you can customize where the bubble appears.
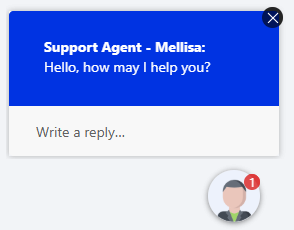
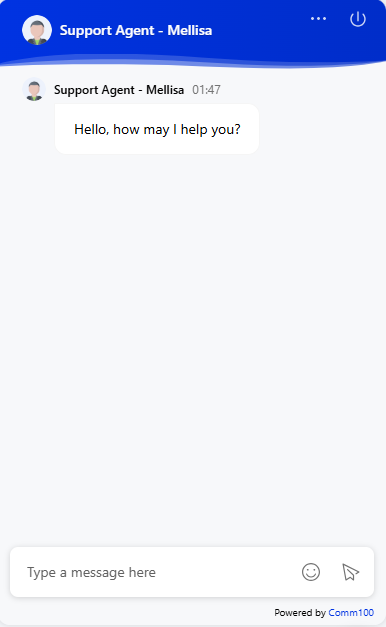
Greeting message - The chat window opens automatically when the invitation is issued, and the invitation text appears as a greeting message in the chat window. - Invitation Header
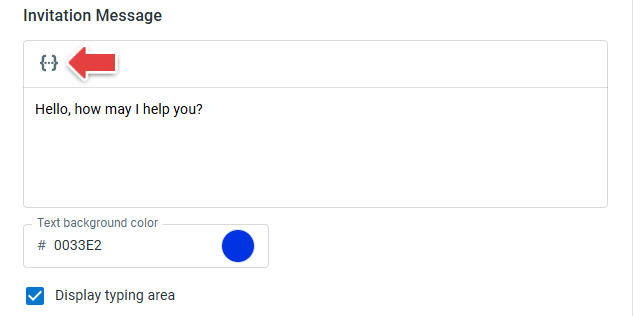
Choose either an Agent Avatar or an Image to display in the invitation. - Invitation Message
Enter a personalized message for the invitation. You can also insert dynamic info into the message if needed. Then, set the Text background color and choose whether to display the typing area for visitors. - Position
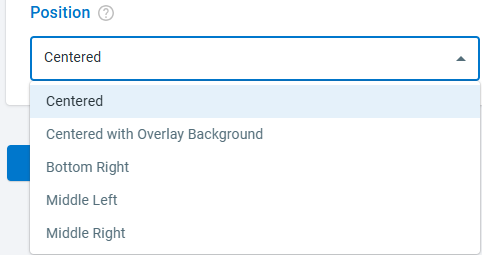
If you are using the Image or Text Link chat button, choose the position where the invitation should appear.
- Invitation Style
- Click Save.
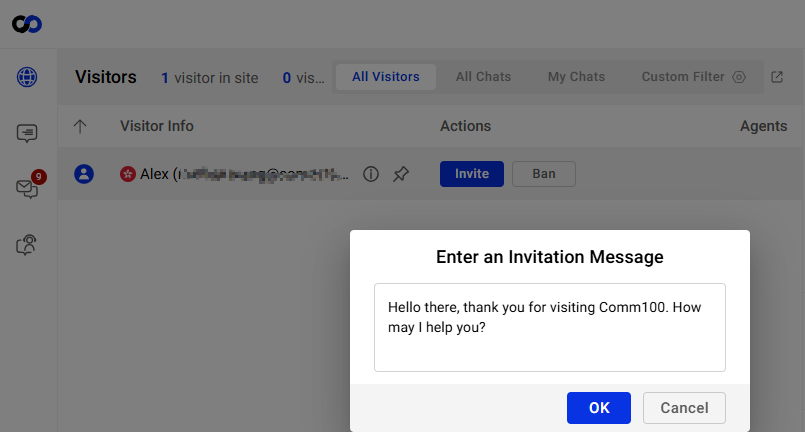
The settings take effect immediately. When sending a manual invitation from the Agent Console, agents can also edit the invitation message before sending it.
Note:
- Agents must have the Invite Visitors to Chat permission to manually invite visitors. To learn how to manage agent permissions, see this article.
- This Manual Invitation feature is available in Live Chat Plus and Live Chat Ultra plans. To learn more about Comm100 product plans, visit here.
- If a pre-chat form is configured, it will be automatically skipped once the visitor accepts the manual invitation.
