In Ticketing & Messaging, you can create multiple Views to quickly locate tickets from specific channels. By defining conditions for each View, you can organize your inbox and focus on the messages that matter most.
Step-by-Step Instructions
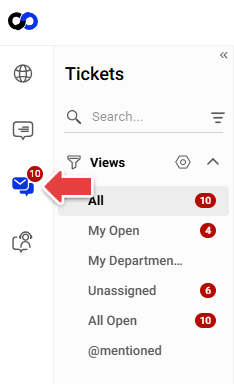
- Log in to the Agent Console and go to the Ticketing & Messaging tab.
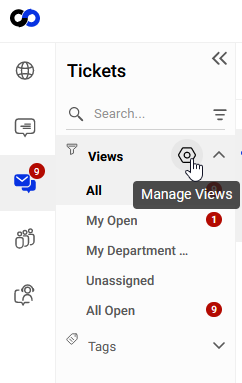
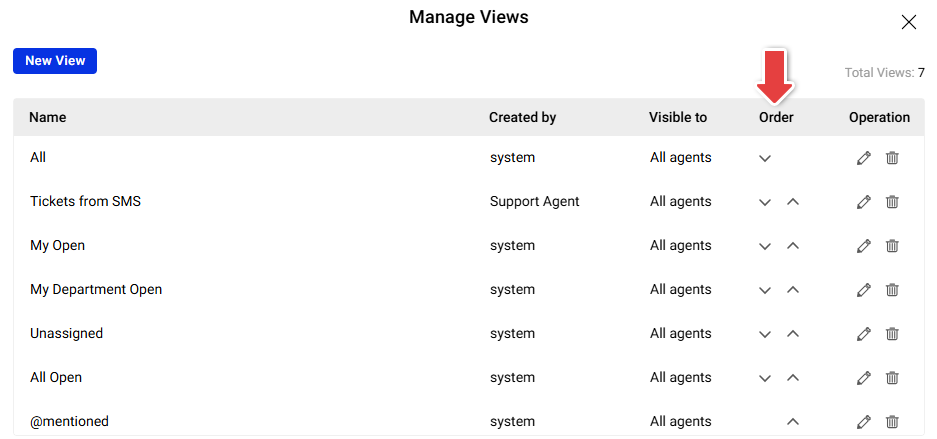
By default, tickets from all integrated channels are listed under the system View All in the Views panel. To organize tickets by channel, you can create custom Views. - Click Manage Views icon.
- Click New View.
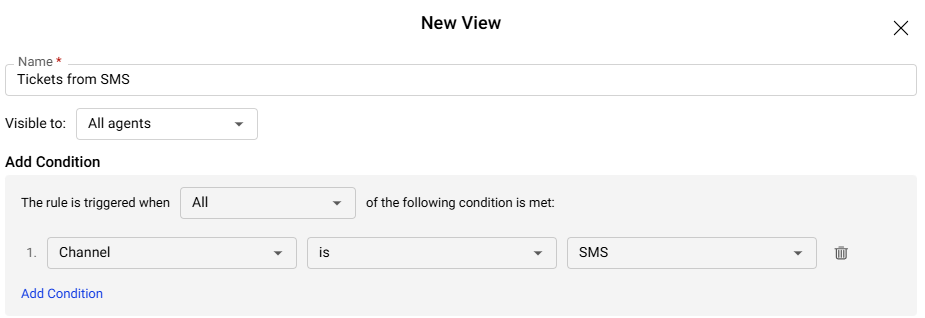
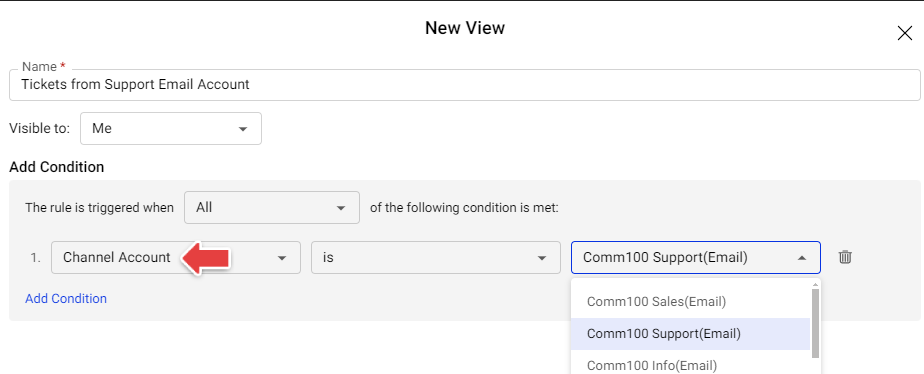
- Enter a name for the View, set its visibility based on who should see it, and define the Condition using the message source. For example, to view only SMS tickets, set the condition to Channel is SMS.Note: If you have multiple accounts integrated under the same channel and want to view tickets from a specific account only, you can use the Channel Account condition.
- Click Save.
The View for the selected channel is created successfully. You can use the Move Up and Move Down icons to reorder Views as needed.
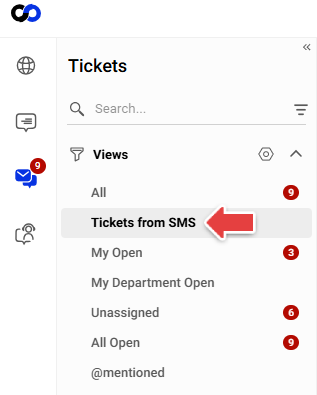
Now you can click the View you created to quickly access tickets from that specific channel.
Note: You can create multiple Views for different channels, priorities, or combinations of conditions. Views can be further refined by adding conditions such as ticket status, priority, or assignee. To learn more about Views, see this article.