Who is this guide made for?
This guide is designed for Live Chat agents and all those who use Live Chat to interact with their visitors on a day-to-day basis. It provides you with all details required to use Comm100 Live Chat and become a successful Live Chat agent.
In case you want to download this article, click Getting Started Guide for Live Chat Agents.
Set your Avatar, display name and personal settings in Control Panel
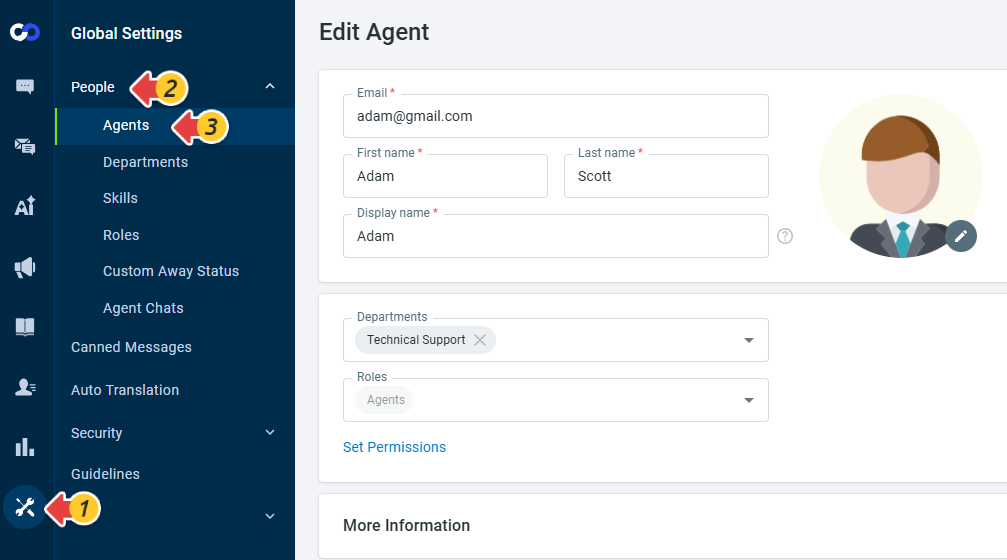
Before you begin accepting chats, you need to customize a few personal settings for your account from the Control Panel.
You can set the Avatar, First name, Last name, Display name, and so forth on the Edit Agent page. To customize these details, navigate to Global Settings > People > Agents.
Access the Agent Console
Comm100 Agent Console is the interface where agents handle chats from visitors. You have the choice to use the Agent Console either from your PC's browser or by downloading and installing our Desktop App. You can also access Agent Console on your mobile phone by installing the Comm100 Live Chat app.
We recommend using the Desktop App, as it is not affected by browser-related configurations. To learn more about Comm100 Agent Apps, visit here.
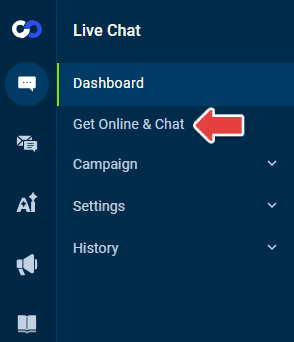
- To access the Agent Console from your browser, log in to your Comm100 Control Panel, go to Live Chat, and click Get Online & Chat.
To download the desktop Agent Console, use these links:
Set up your status
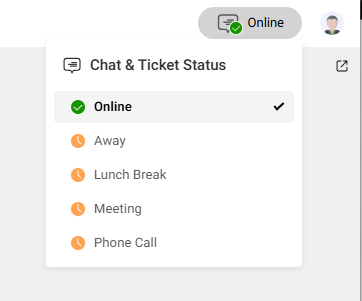
You would need to log in to the Agent Console and set your status to Online when you are available to start accepting chats. Put your status on Away when you are on breaks and log out of the Agent Console when your shift ends.
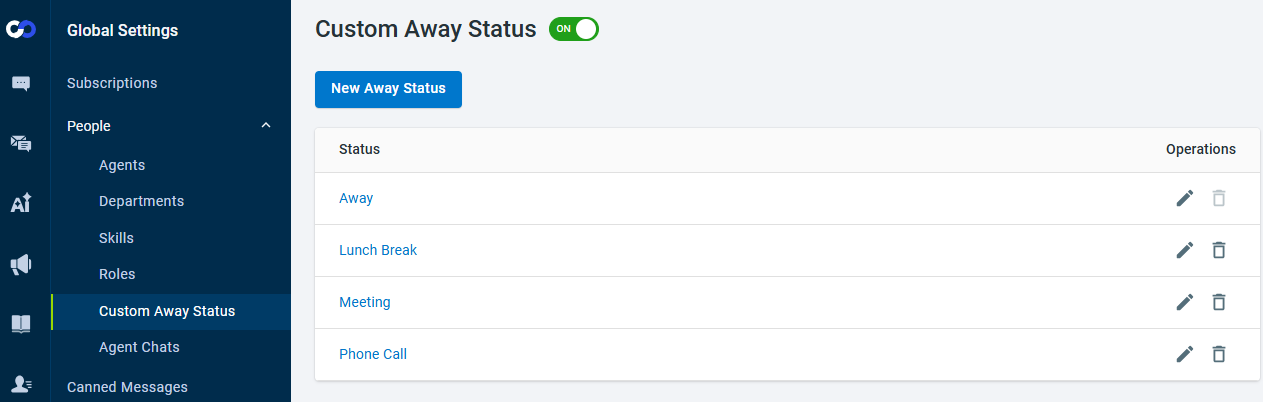
You can use the Custom Away Status feature available in the Global Settings of the Control Panel to create new away statuses.
Customize your greeting and shortcuts
Before you start accepting chats, we recommend configuring your greeting message, automatic message reminders, and keyboard shortcuts. These settings streamline your workflow and make it easier to handle customer inquiries efficiently.
You can create keyboard shortcuts for sending messages, switching to the next chat or next response, or searching for canned messages by navigating to Preferences > Live Chat > Shortcuts.
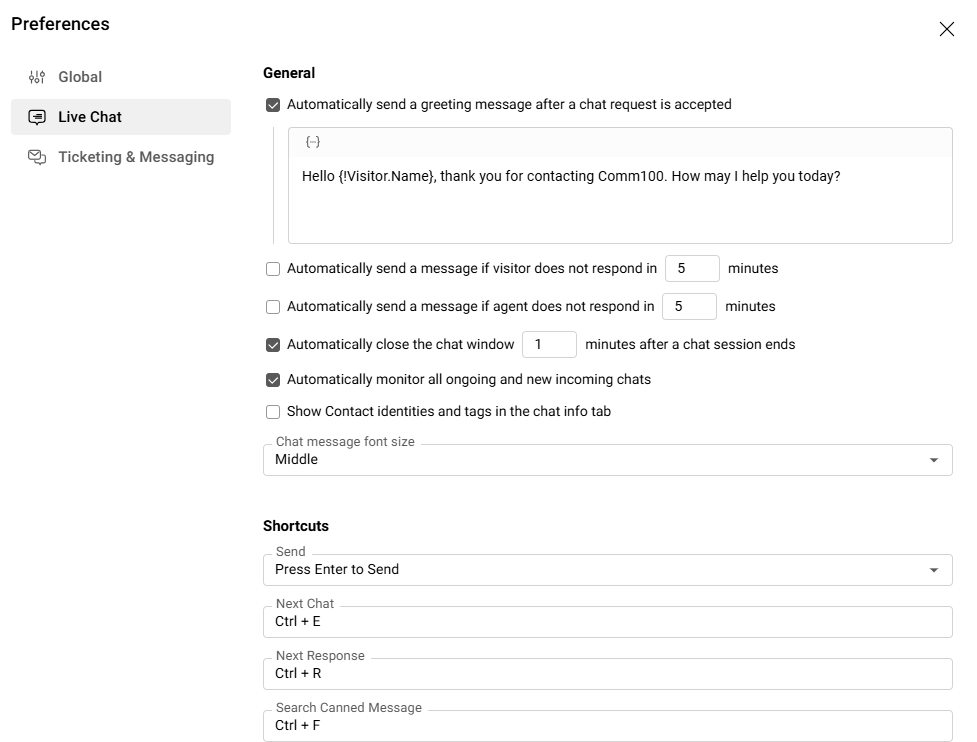
To learn more about customizing greeting and shortcuts, see this article.
Set up notifications
Make use of the Notification settings in the Agent Console to configure alert sounds and pop-up notifications for events such as new visitors, new responses, incoming chats, or chats that have ended. Proper notification settings help ensure no chat requests or messages from visitors are missed.
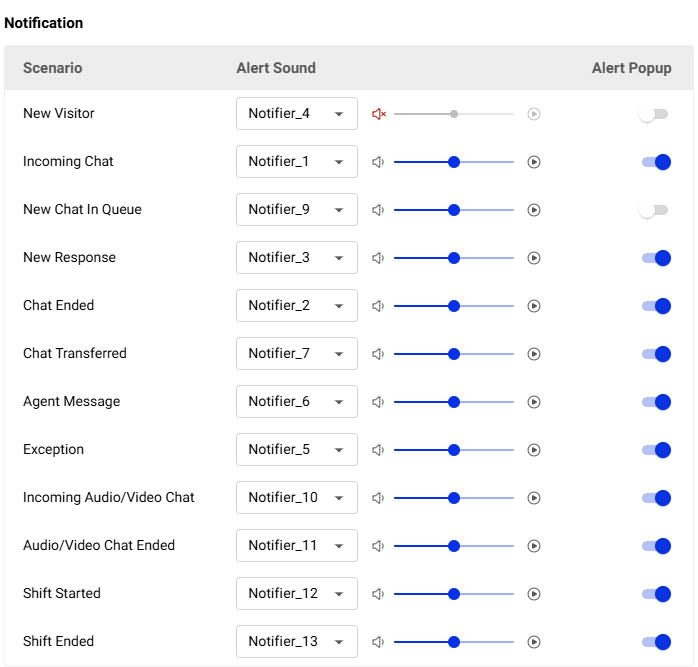
To learn more about customizing the Notifications, see this article.
Where are these chats coming from?
A visitor can start a chat through the Live Chat widget on your website or from your mobile app if the widget has been implemented there. Comm100 Live Chat also supports manually or automatically inviting visitors to chat.
To learn how to invite visitors to chat automatically, see this article.
How can you start accepting chats?
To start accepting chats, your system admin needs to get the Live Chat code and paste the code onto your company’s website.
Once the admin pastes the code, the Live Chat button appears on the website. When a visitor initiates a chat, it lands up on your Agent Console. You can now chat with the visitor in the Agent Console window.
To learn more about accepting chats, see this article.
Transfer chats
Comm100’s Live Chat allows you to get help from other agents whenever you need it. The transfer can be to another agent when the chat volume is high, to a supervisor in case you need help or a transfer to another department based on the visitor’s need, and so forth.
Chat Transfers can enhance your team collaboration and ensure high service efficiency.
To learn more about transferring a chat in Agent Console, see this article.
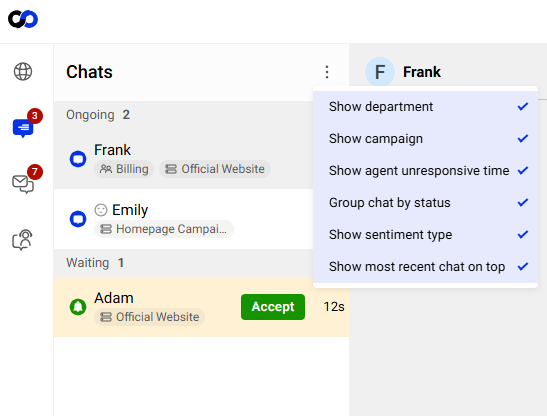
The Agent Console has various sections designed to help you communicate effectively with visitors.
- On the left side, the chat list displays all ongoing chats along with key details such as campaign, department, and sentiment type.
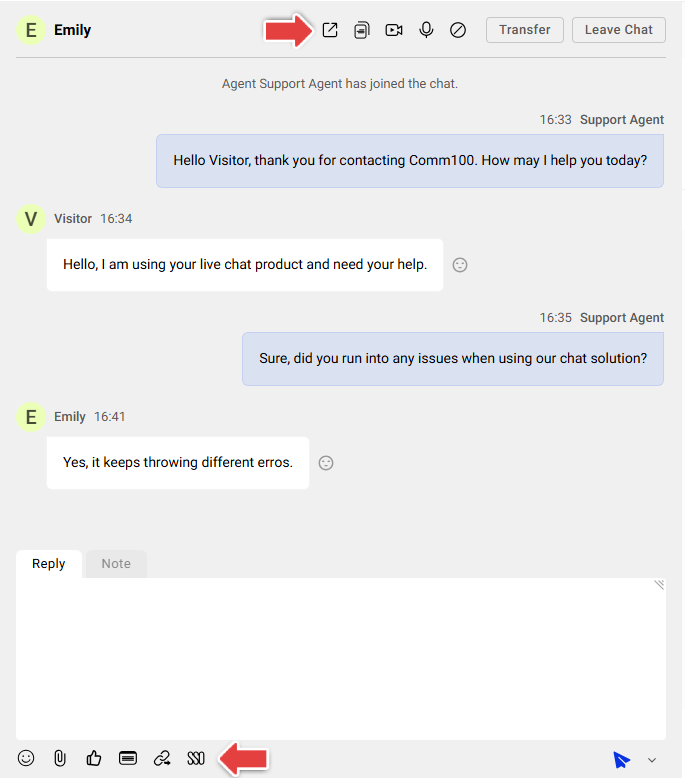
- The middle area is where you chat directly with visitors. It includes options such as transferring or leaving a chat, requesting audio or video chat, sending emojis, attachments, PCI forms, and push pages. You can also switch between Reply and Note to record internal notes during a chat. Some features may appear unavailable depending on your Control Panel settings.
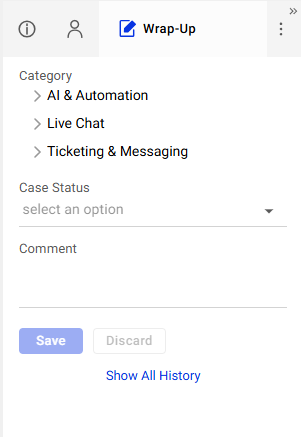
- On the right side, you will find tabs such as Info, Contact, Wrap-Up, Help Content, AI Copilot, History, Navigation, and more. These tabs allow you to view visitor details, create or update contacts, review interaction history, and check navigation paths showing how the visitor arrived on your website.
You can also create a custom tab to display additional information if needed. To learn more about creating custom tabs, see this article.
Here are a few quick tips to help you become a Rock Star Agent!
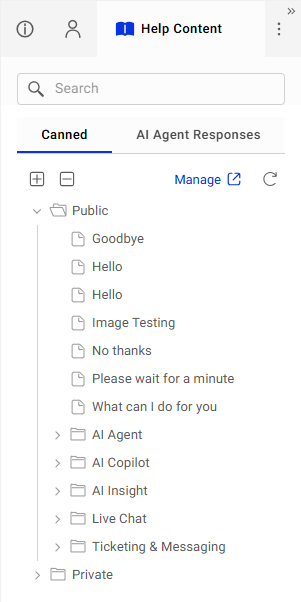
Create canned responses
Canned messages can come in handy in cases where you recall a similar question asked by a previous visitor. You can create and save these messages over a period to help your visitors right away in case a similar question is asked. A canned message can save your time and a quick accurate response can help build your visitor’s trust in your knowledge in helping them resolve their query.
Check these articles to learn more about creating and sending canned responses while serving your visitors.
To learn more about using canned messages effectively, see this article.
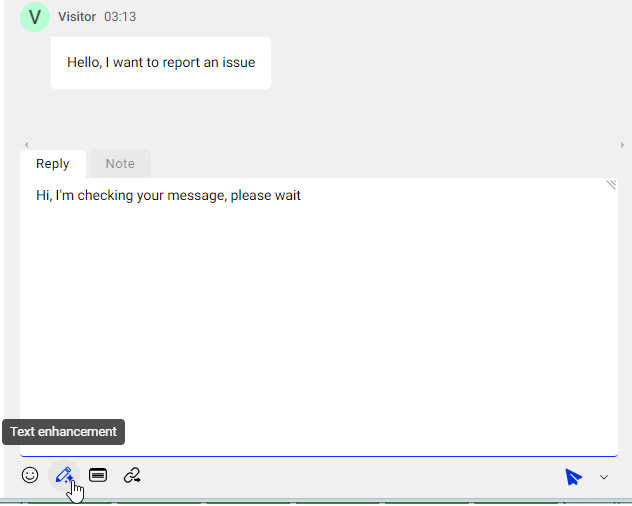
Utilize AI Copilot
With AI Copilot, you can enhance your responses by using Text Enhancement before sending messages.
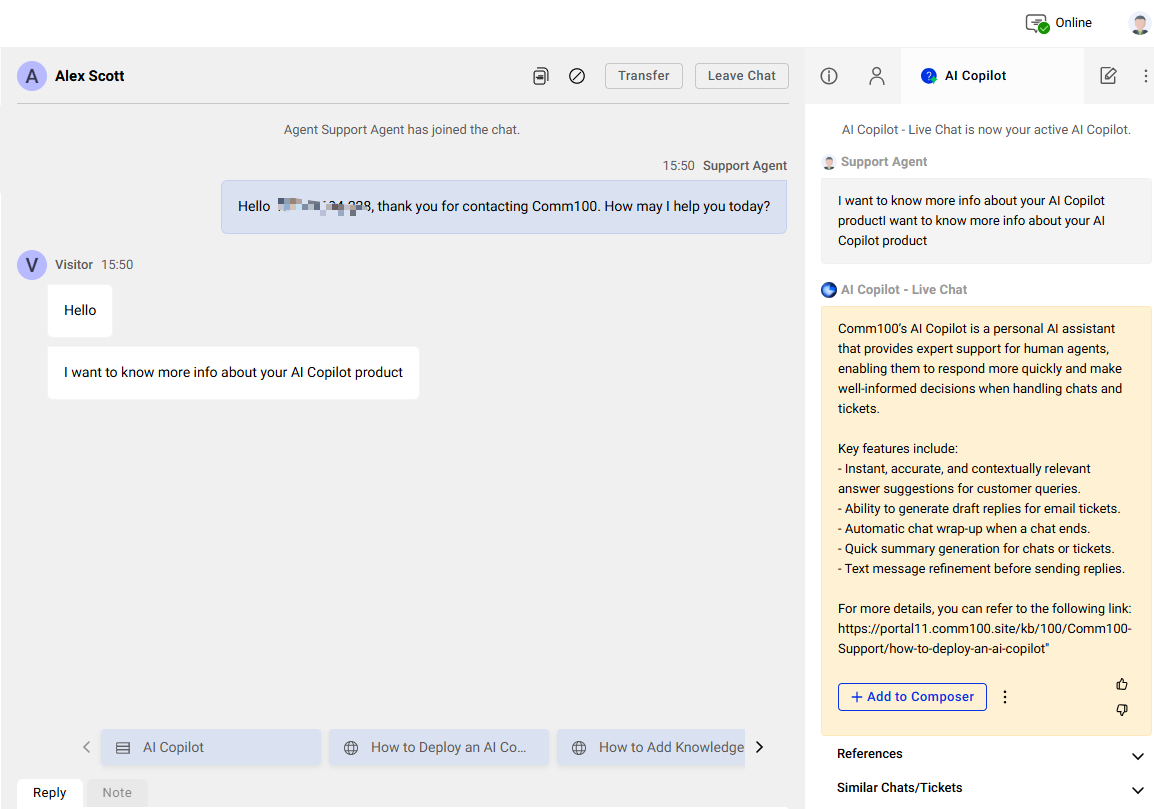
AI Copilot also increases efficiency by providing instant answer suggestions directly within the chat.
To learn how to use AI Copilot to generate suggested answers, see this article.
Make it personal
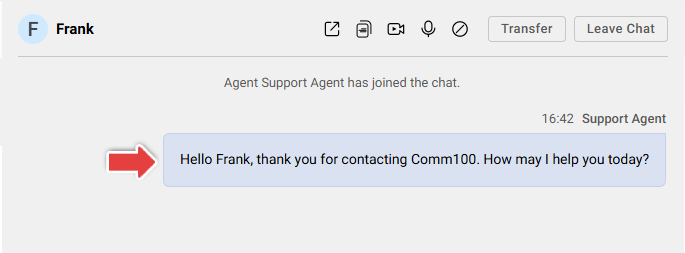
If you are using Coom100’s Pre-chat feature, you will have some information handy like name, email, and so forth. Use details like names to address the visitor while greeting them. It can make the visitor feel connected from the very first message that you send.
Put yourself in their shoes
Try to look at every query from the visitor’s perspective. This will help you understand and empathize with your visitors and help build their trust in your services.
Be transparent
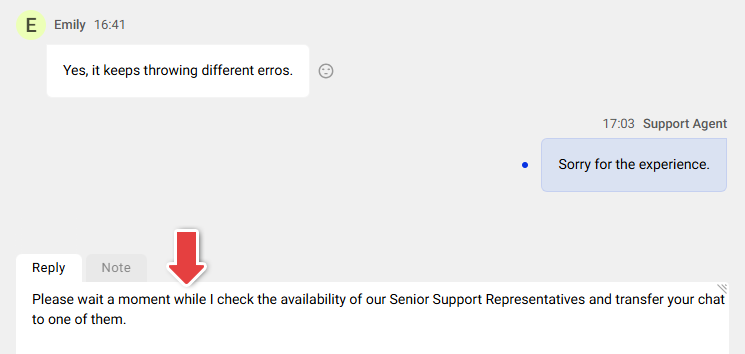
Speedy service makes a good impression but being precise is even better. When you need the visitor to wait a moment, let them know what you are doing.
Listen actively
Let the visitors know you are there, and you are listening. Keep interacting while the visitor explains a complicated case. Continous interaction can make the visitor’s experience great.