
Canned Messages are predefined responses that agents can quickly reuse during customer interactions. They are commonly used for greetings, frequently asked questions, troubleshooting steps, and other frequently sent responses.
When handling chats or tickets, agents can quickly send canned messages by using shortcuts.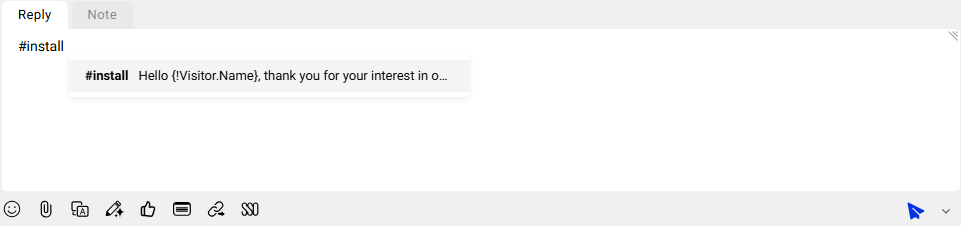
When replying to email tickets, agents can also use dedicated email canned messages that support different font styles.
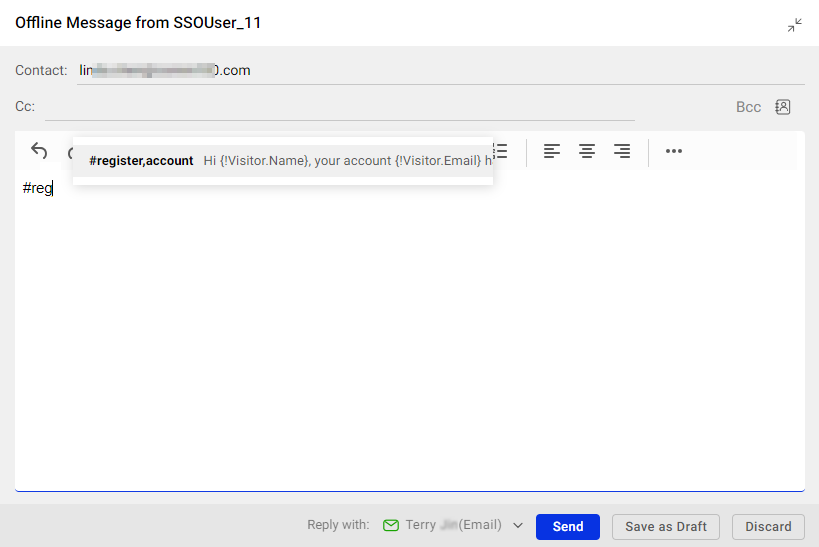
Canned messages include Public Canned Messages and Private Canned Messages.
- Public canned messages are available to all agents within the same site. Administrators and agents with the appropriate permissions can create, edit, and delete public canned messages. To learn more about managing agent permissions, see this article.
- Private canned messages are available only to the agent who created them. By default, agents can create, edit, and delete their own private canned messages.
You can create canned messages individually, import them in bulk, export them for backup, or delete them when they are no longer needed. This article explains how to create, import, export, and delete canned messages, as well as the sorting rules used for canned messages.
Creating a Canned Message
To create a canned message, follow these steps:
- Log in to the Comm100 Control Panel.
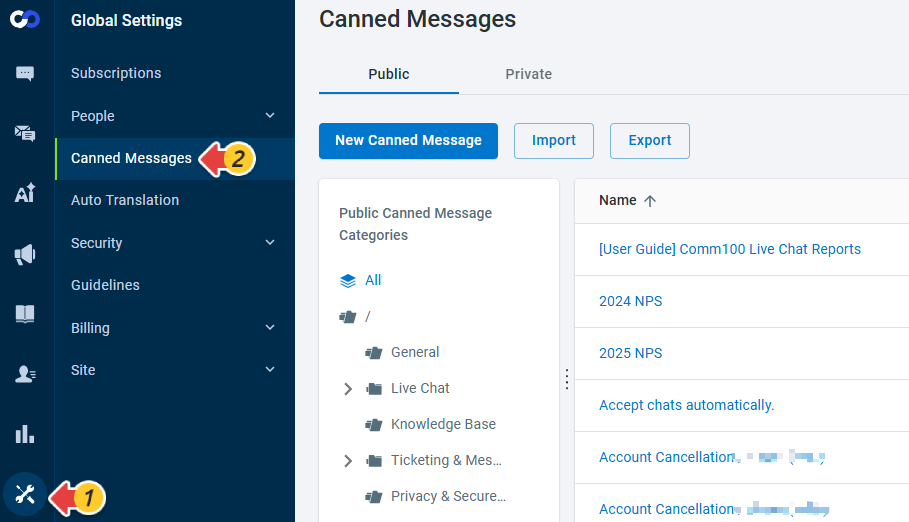
- From the left navigation menu, go to Global Settings > Canned Messages.
- Under the Public or Private tab, click New Canned Message.
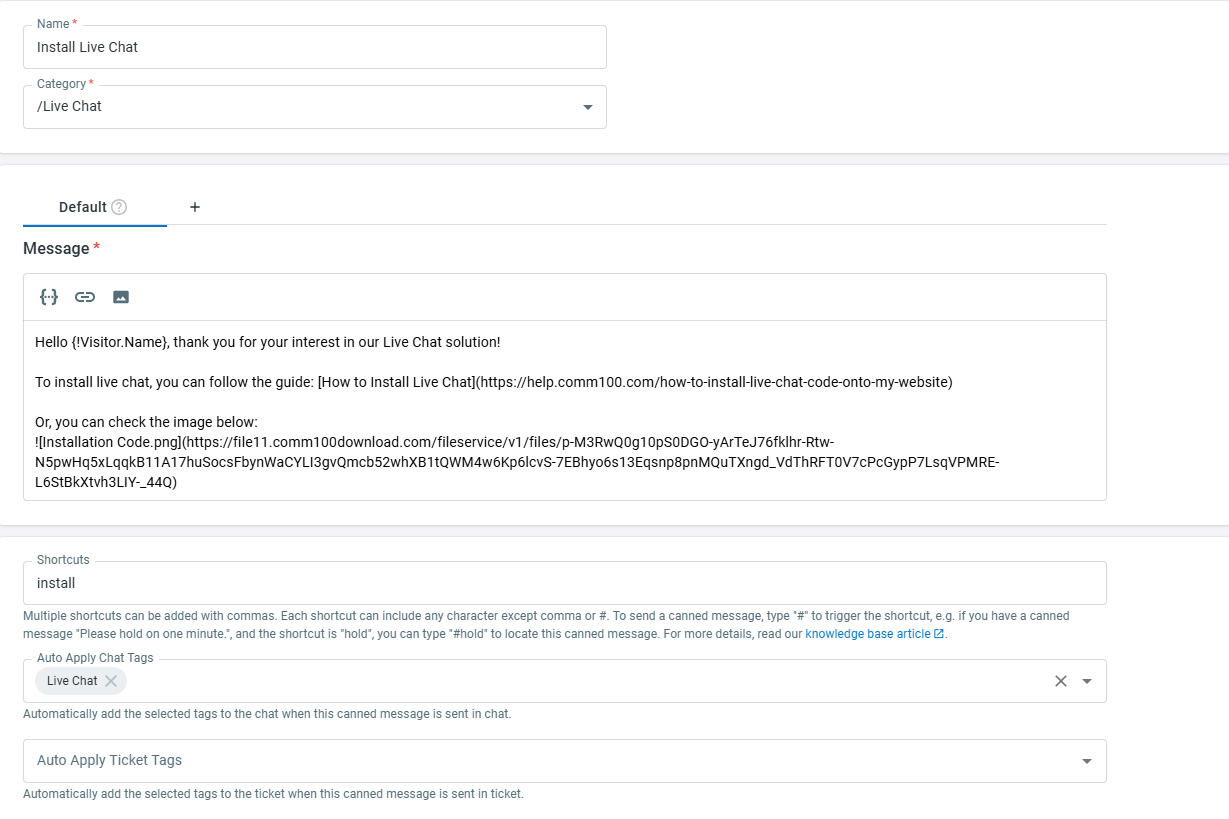
- On the New Public/Private Canned Message page, configure the following:
- Name: Used to identify the canned message. Agents can locate canned messages by searching for their names.
- Category: Used to organize canned messages into categories.
- Message: The message content that will be sent to visitors or included in ticket replies. When composing the message, you can use the toolbar to:
- Insert Dynamic Info: Insert dynamic information that changes based on the current chat or ticket, such as the visitor's name.
- Insert Link: Insert hyperlinks by specifying the display text and destination URL.
- Insert Image: Insert images to provide visual guidance.
- Shortcuts: The keyword agents type after the # symbol to quickly insert the canned message.
- Auto Apply Chat Tags: Automatically applies the selected tags to the chat when this canned message is sent in chat.
- Auto Apply Ticket Tags: Automatically applies the selected tags to the ticket when this canned message is sent in ticket.
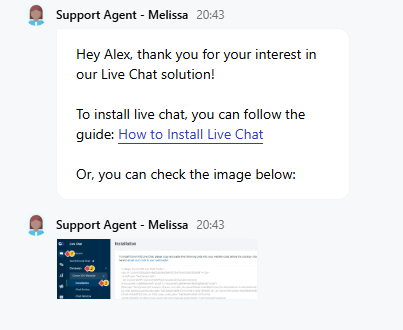
Note: If a canned message contains both text and images, they are sent as separate messages. - (Optional) By default, canned messages are available for Live Chat and all Ticketing & Messaging channels. To create an email-specific version of the canned message, click the + icon next to the Default tab and enter the email content. You can use either HTML or Plain Text format.
- Click Save.

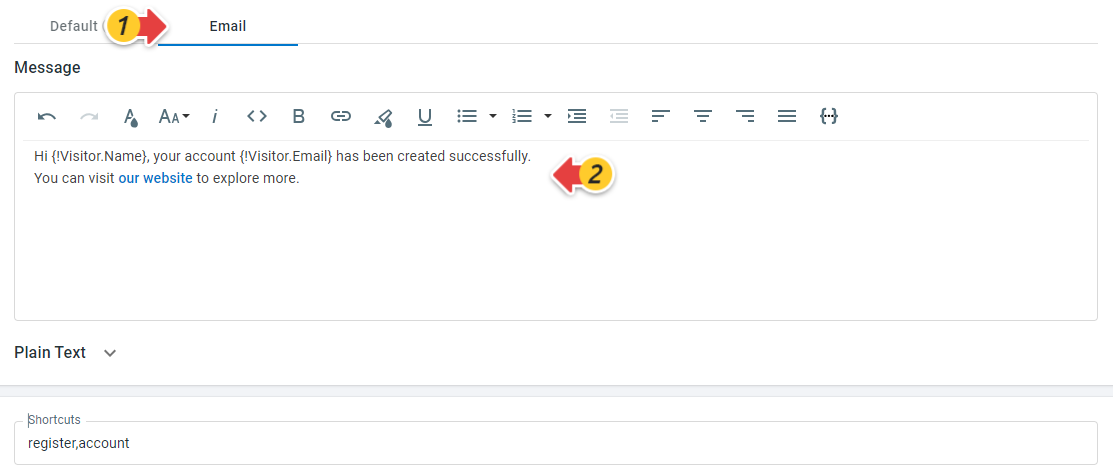
The canned message is available for use after it is saved successfully.
Importing Canned Messages
If you have a number of canned messages, you can import them at once using the provided template:
- On the Comm100 Control Panel, go to Global Settings > Canned Messages.
- Under the Public or Private tab, click Import.
- Click Download Template. An XLSX file is saved to your device.
- Edit the template file with your canned responses.
- Upload the file and click Import.
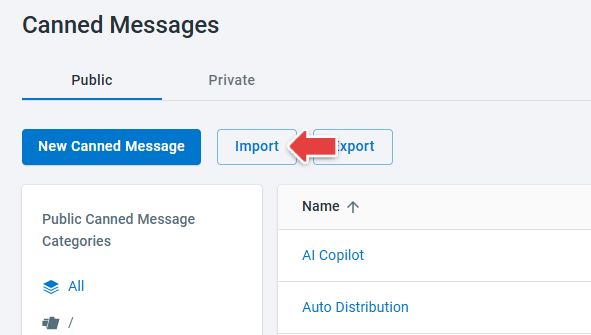


After the import completes successfully, the canned messages appear in the canned message list.
Exporting Canned Messages
You can export all canned messages or selected canned messages for backup or reuse in other platforms. To export canned messages, follow these steps:
- On the Comm100 Control Panel, go to Global Settings > Canned Messages.
- Under the Public or Private tab, do one of the following:
- To export all canned messages, click Export.
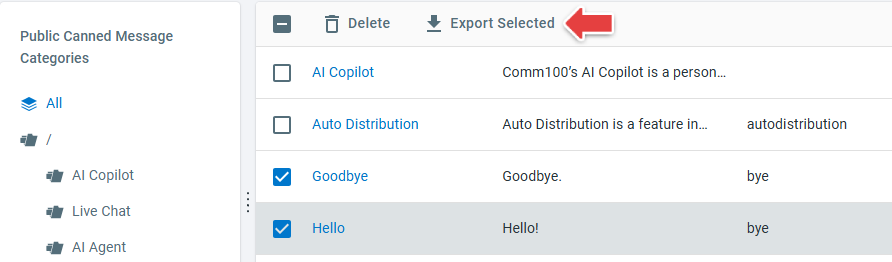
- To export selected canned messages, select the desired canned messages, then click Export Selected.
- To export all canned messages, click Export.
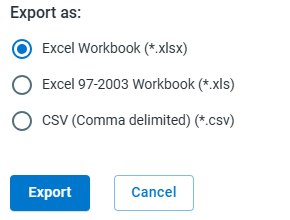
- Choose the export file format and click Export.
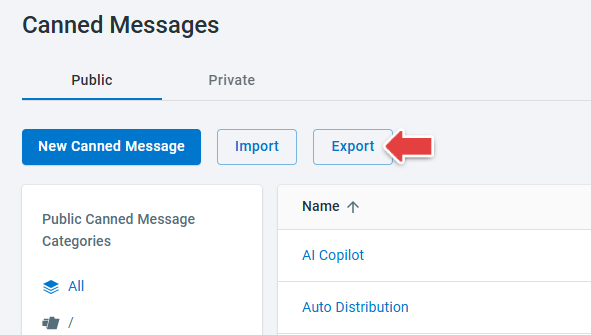
The export file is downloaded to your device.
Deleting Canned Messages
You can delete canned messages individually, delete multiple selected canned messages, delete an entire category or delete all at once. To delete canned messages, follow these steps:
- On the Comm100 Control Panel, go to Global Settings > Canned Messages.
- Under the Public or Private tab, do one of the following:
- To delete a single canned message, locate the canned message and click Delete icon in the Operations column.
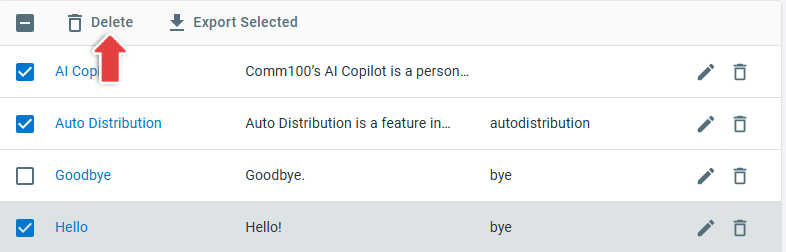
- To delete multiple canned messages, select the desired canned messages, then click Delete.
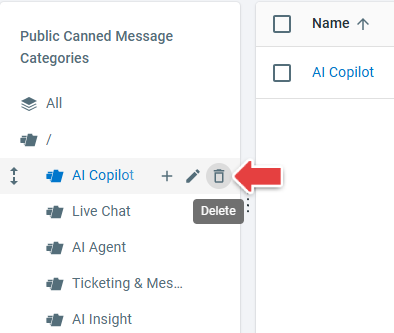
- To delete all canned messages in a category, locate the category and click the Delete icon.
- To delete all canned messages, click the All category, select all canned messages and click Delete. If you have a large number of canned messages, increase the Rows per page value before selecting all canned messages.
- To delete a single canned message, locate the canned message and click Delete icon in the Operations column.


Canned Message Sort Order
Canned messages are sorted in ascending order based on the first character of their names using the following order:
- Spaces
- Symbols other than numbers and letters
- Hyphens and apostrophes are ignored during sorting
- Remaining symbols are sorted according to their ASCII values in ascending order.
- Numbers (0 through 9)
- Letters (A through Z)