Comm100 Live Chat can be integrated with Zendesk, allowing chat transcripts, offline messages, and visitor contact information to be sent to your Zendesk account. This helps your team continue follow-up in Zendesk while keeping relevant Live Chat information available.
Comm100 uses OAuth to connect to Zendesk. The Zendesk account used for authorization must be either an administrator account or an agent with permission to manage end users and sufficient permissions to view, create, and update tickets. OAuth permissions are requested automatically during authorization and do not need to be configured separately.
Step-by-Step Instructions
To integrate Comm100 Live Chat with Zendesk, follow these steps:
- Log in to the Comm100 Control Panel.
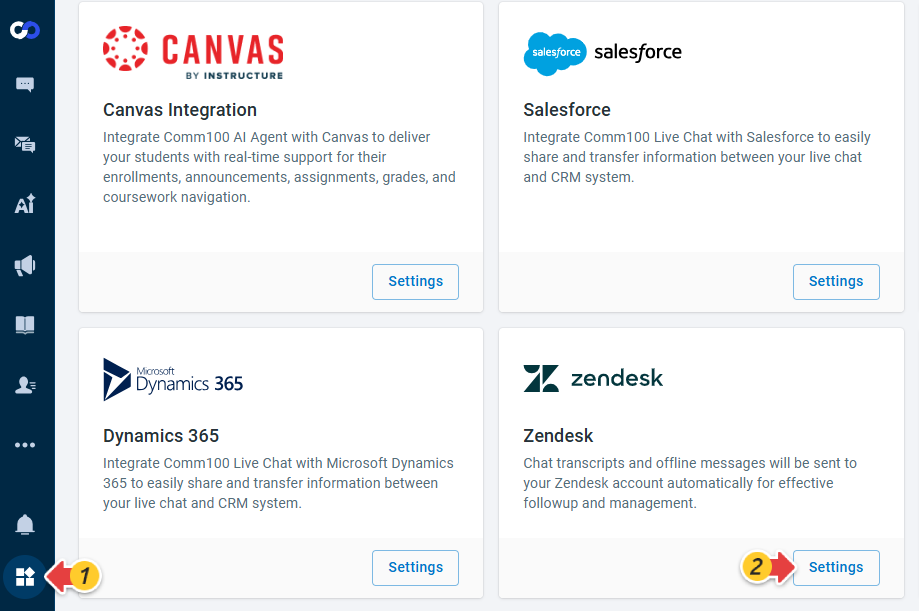
- From the left navigation menu, go to Apps & Integrations.
- Locate the Zendesk integration card, and click Settings.
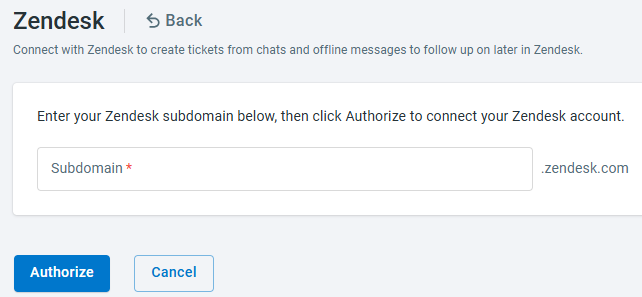
- Enter your Zendesk subdomain. For example, if your Zendesk URL is https://example.zendesk.com, enter example.
- Click Authorize.
- Follow the Zendesk authorization prompts, sign in with the Zendesk account you want to use for the integration, review the requested permissions, and click Allow.
What Happens After the Integration
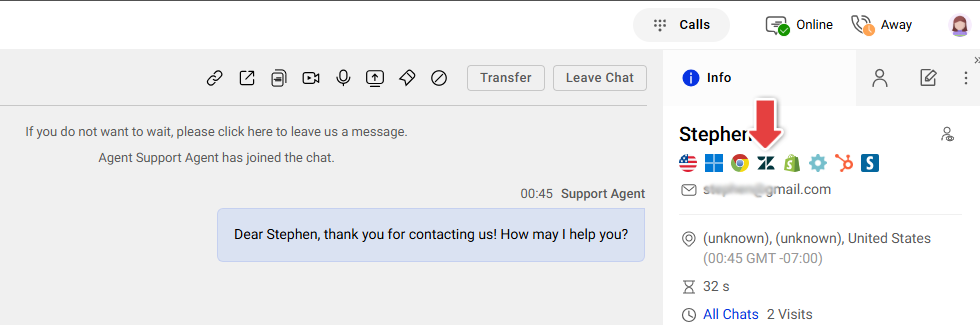
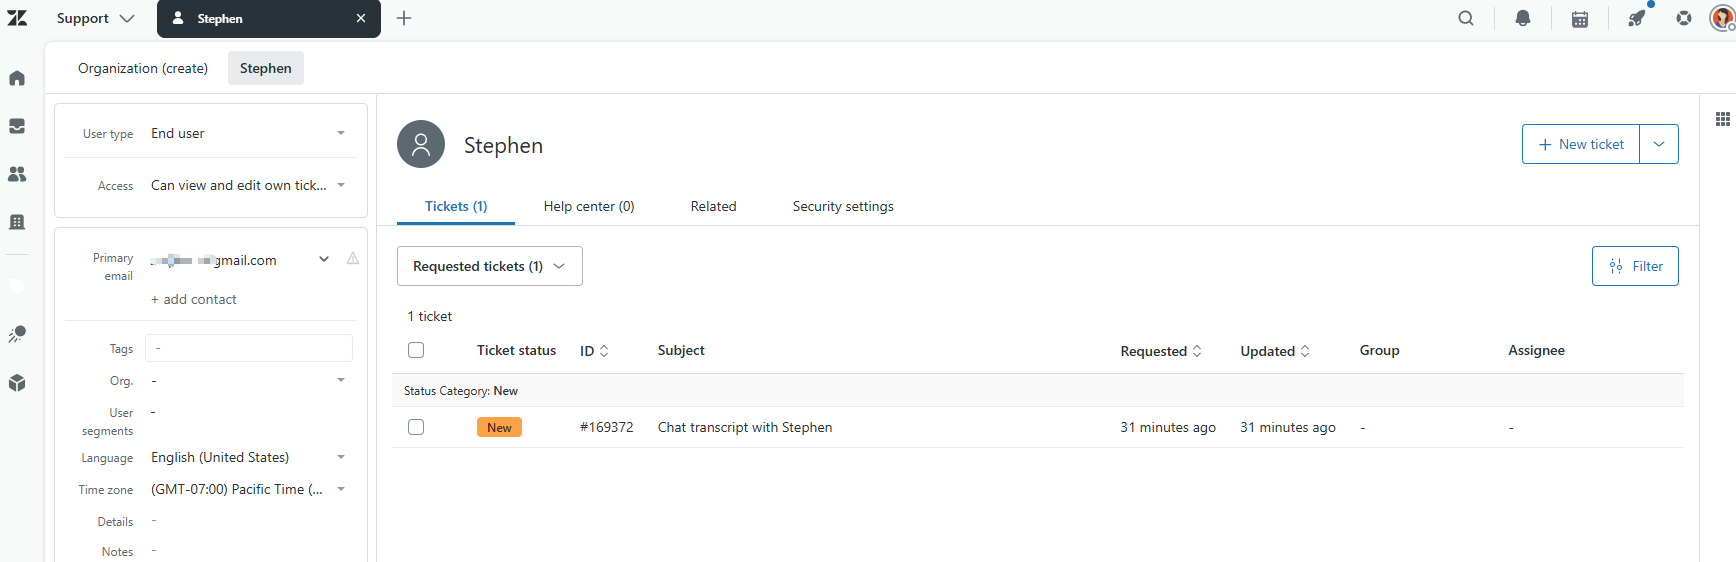
- If the visitor's email address matches an existing customer in Zendesk, a Zendesk icon appears under the Info tab in the Agent Console during the chat.
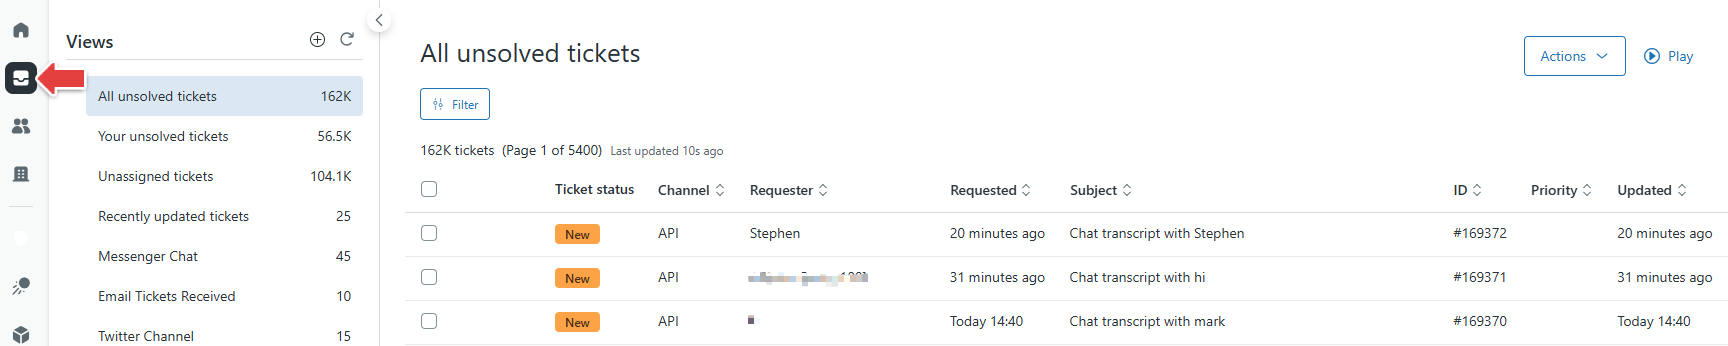
You can click the Zendesk icon to open the corresponding customer page in Zendesk and review the customer's ticket history. - When a chat ends or an offline message is submitted, a corresponding ticket is created in Zendesk with API as the channel. From the Zendesk ticket, you can review the chat transcript and any files sent during the conversation.